Welcome to Know it Alls,
your weekly guide to tips and tricks for Alls Real Estate, Community Events, and Local Warrenton, VA Businesses.
Getting Your Full Security Deposit Back: A Tenant's Guide

Moving can be stressful, but there's one silver lining everyone looks forward to: getting that full security deposit back! For many tenants, the return of that money is a crucial financial step. However, according to real estate professionals, it's a common point of contention.
Chelsea Greer with Alls Real Estate encounters many things that align with failure of Security Deposit returns.
We sat down with
Chelsea Greer, with Alls Real Estate, who shared her expert insights on how tenants can ensure they get every dollar of their deposit returned. It all boils down to two things:
documentation and
care.
1. Document Everything on Day One
The single most important step you can take happens the day you get your keys.
Take photos of the entire property before you unpack a single box. Walk through every room, open cabinets, show the inside of the refrigerator, and film the floors. These photos serve as your undisputed proof of the property's condition at the start of your lease.
"People forget how they received the property," says Greer. "When they move out and haven't put in the same time or care we did when leasing it to them, they are confused on why their security deposit was not returned to them in its entirety."
By taking detailed pictures, you set a clear benchmark. You can upload your pictures into the portal under “ Move In Inspection”, which will be saved and can be viewed by both parties at the exit walkthrough..
2. Give Proper Notice
Under section 1.3 Lease Terms; tenant must give 60 Days Notice to vacate on or before the first of the month. Even though your lease is ending, you MUST give proper WRITTEN NOTICE. Remember to provide a forwarding address and how you would like your deposit returned to you, either via direct deposit or check.
3. Leave It as You Found It (Or Better!)
One of the quickest ways to lose part of your deposit is by failing to restore the unit to its original, clean and fresh state.
"We take great pride in making sure our units are clean and freshened prior to going into a leasing contract," Greer explains. The expectation is that you return it in that same condition. This means being meticulous. Don't leave dust bunnies in the corners, items in the refrigerator or cabinets, or trash/furniture on the street in front of the rental. These issues are considered cleaning and disposal costs, and they will be deducted from your deposit.
While tenants don't own the property, Greer notes: "If they cared for it in the capacity we did before leasing it to them, they would all have a full security deposit return." Also, be sure to review 9.3 Move Out Inspection, which outlines Professional Pest control if you have a pet or professional carpet cleaning.
4. Schedule a Pre-Move-Out Walkthrough
Don't wait until the final move-out inspection to find out what needs fixing or cleaning.
A proactive and invaluable tip is to schedule a walkthrough or do a call with Mrs. Greer a couple of weeks before your actual move-out date. She can point out specific items that need attention, giving you time to correct them yourself and avoid costly deductions. This is your chance to get tips on exactly what needs to be done.
5. Report Maintenance Issues Immediately
Minor issues can turn into costly damages if left unaddressed, and you could be held responsible for the escalated repair.
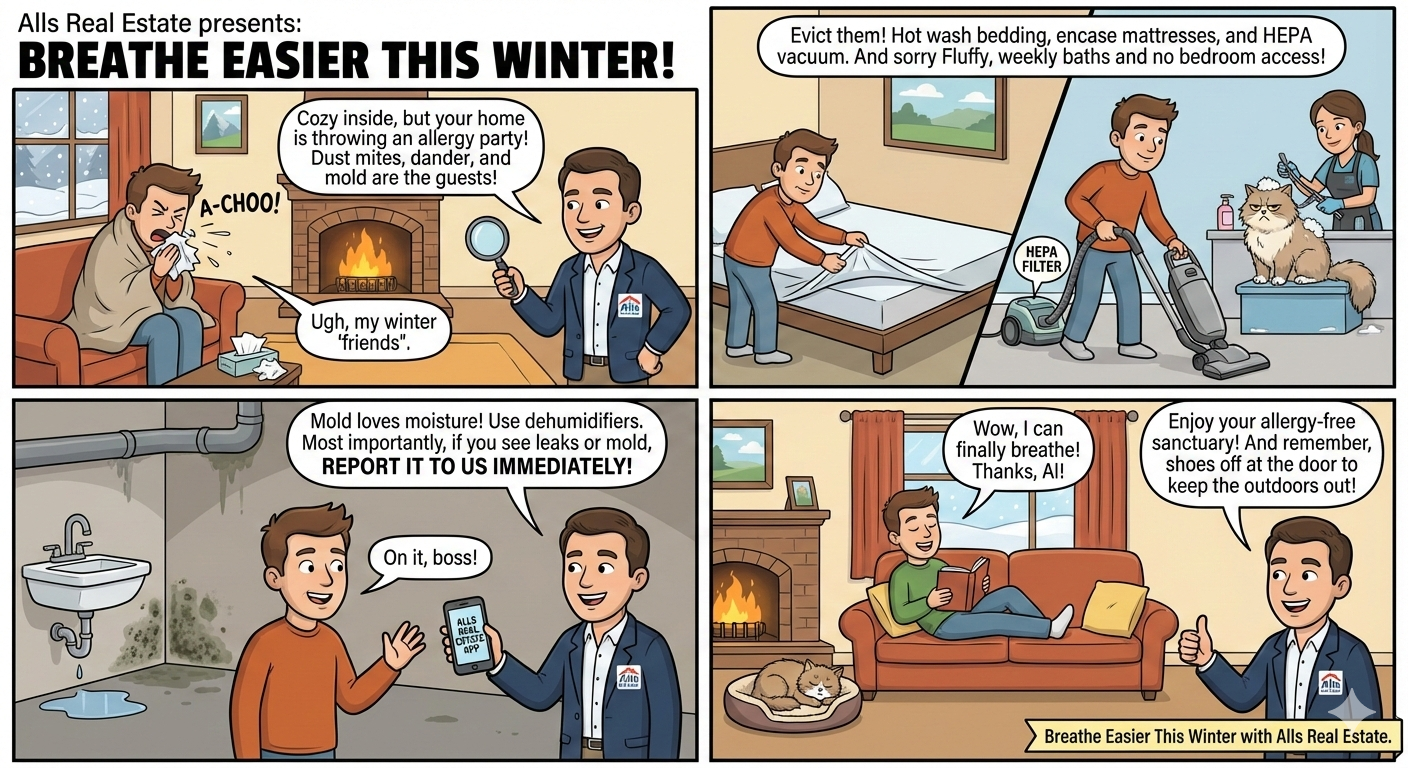
During your lease term, be diligent about reporting maintenance needs. If you see a leak, a cracked window, or the water is backing up in the sink, put in a work request on our website immediately. Putting in a work ticket ensures the problem is addressed and documented prior to your move. This protects you from being charged for wear-and-tear issues that were the landlord's responsibility to repair.
By prioritizing documentation, cleanliness, proactive communication, and timely maintenance reporting, you can confidently walk away from your rental with your full security deposit safely back in your bank account!
Share this post


Know it Alls


